Cooking with Her – Gnocchi & Cooking with Him – Spinach Cream Sauce with Pine Nuts

So we’re going to change it up a bit in hopes that Job will get more of an opportunity to write about the things he makes with our “new” segments, Cooking with Him and Cooking with Her.  With that being said, welcome to Cooking with Her – Gnocchi. (We got the title idea from these awesome bloggers thekatchpdx, who denote each of their blog posts with him or her so you know who writes them. Thanks again!)

Be forewarned, this is the proudest cooking moment of my short cooking career.  For those of you that know me, I am in no way a cook.  Most of you would probably put me in the category of “Hannah doesn’t know how to cook (but she can make damn good cookies)”  I, myself, would say I was there as well.

About a week ago, I found out that maybe I could take myself out of that category.

Anyways, last week we bought 10kg of potatoes.  They were on sale.  After the potato purchase, we sat down and had a serious conversation about how we were going to use up 10kg of potatoes in just a few weeks.  Obviously, Stamppot was going to be on the menu a few times, but I thought to myself, what else is a main dish that uses potatoes… and then it came to me…GNOCCHI!

Now at first I thought that this was pretty ambitious.  I knew nothing about pasta making, and even less about gnocchi.  I did what any normal person in this day and age would do… I googled it.

This first thing I came upon was this (first recipe).  I read through the instructions and thought, hey… this doesn’t seem super awful.  I think I can do this.  I read a few of the comments for suggestions on recipes as I always do to find out ways to make the meal better and stumbled across this (second recipe).  

With both of those websites in hand, it was time to get ready to work.

Now, the original plan was to make the gnocchi with Job, but as you know, potatoes take forever to prepare and so I wanted to get a jumpstart on the action so that we could get right to it when Job got home from work.  So I got down to work.

Ingredients:
image

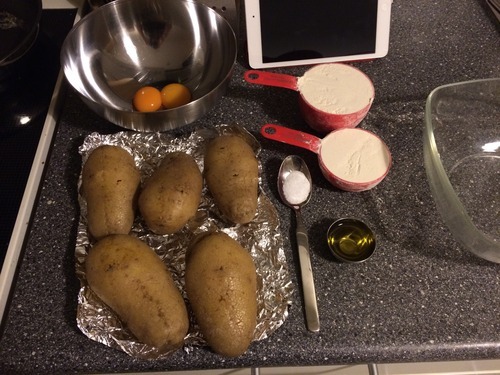
  • 1 kg of potatoes (I ended up using five potatoes, they’re already cooked in this photo)
  • 300g (1.5 cups) of All Purpose Flour
  • 2 Egg Yolks
  • 1 Tbsp of Olive Oil (The recipe actually called for extra virgin, but we just had traditional olive oil which is what we used.)
  • Salt (I have no idea how much salt as none of the recipes I looked at gave an amount, so I just looked at the picture from the first recipe and tried my best to duplicate.)

The first thing I learned about gnocchi is that water is not your friend!  Water will make the gnocchi gummy and not have the correct texture.  The only time you want water is when you’re ready to boil these bad boys up for your meal.

The first set of instructions suggested you boil the potatoes to cook them.  The second set suggested you bake the potatoes to avoid dealing with water.  I heeded the advice of the second recipe because I have no faith in myself when it comes to cooking.  Then I had to look up how to bake a potato because this is how much I actually know about cooking. Nothing.

Anyways, after looking up how to bake a potato (dear google, thank you for not letting me down… and Diane for your cut and dry instructions (I liked Diane’s answer the best)) I prepped my potatoes by kind of rinsing them (I was still weary of the water) and then created a dotted line with fork punctures the length of the potato and put it in tin foil to bake.  I believe I baked them at around 200C for about an hour to an hour and a half.  Like I said. I really had no clue what I was doing.  I tried to time it well enough so that when the potatoes were done, Job would just be walking in the door from work.  My timing was off.. which is how I ended up making this dinner myself.
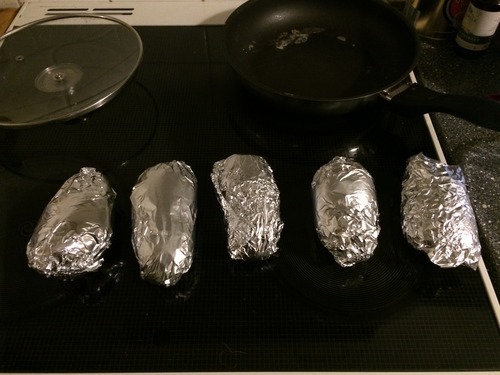
image

According to the second set of instructions, everything melded together better when the potatoes were hot, so I just kept making the gnocchi despite the fact that Job probably wouldn’t be home for at least a half hour more.

When they came out of the oven, I carefully peeled off the skin.  I found that by pressing on the skin and pulling away from the center fork perforations, the skin just peeled back with ease.  I went about all of the potatoes and peeled them and put them into a big glass bowl.

From there, I first used my masher and then went down to a fork.  The first recipe recommends a potato ricer (I don’t have one of those) and the second one used a pastry cutter (I don’t have one of those either) so I used a fork which was the fallback method for both recipes.  This mashing part is super important because you really need to make sure there are no chunks of potatoes left by the time you’re done mashing.  If there are, then you will have chunks in your gnocchi and that is no good.  So really get in there with that fork and mash, Mash, MASH! While I was mashing, I added in my olive oil which recipe two suggested.  It helps to somewhat moisten them and makes it slightly easier to mash.
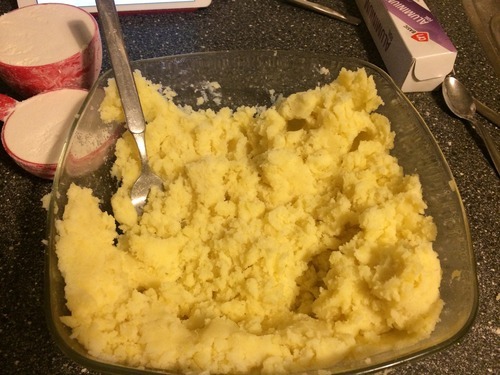
image

Looking over both recipes, I think that I forgot to beat my egg yolks before I added them to the potato mixture.. but I can’t quite remember.  Anyways, according to both recipes, you’re supposed to beat the eggs first.  I think I just poured them in and stirred the mixture until it was all the same color.  From there I added the flour and salt and got to work with my hands because I knew otherwise there would be flour all over the kitchen.
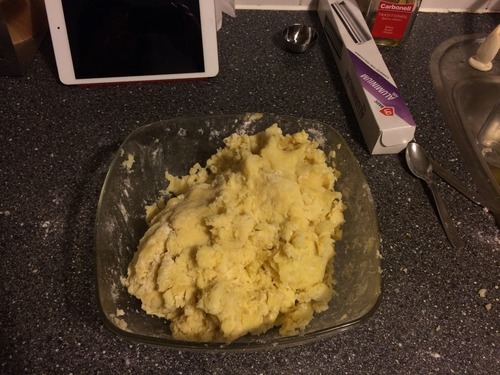
image

Once everything was mixed all together, I got out our wooden cutting board and sprinkled some flour on there and plopped the dough out of the bowl.  I kneaded it a few times (at this point I was sort of following directions/sort of making up how to knead because I did not follow recipe one’s instructions for sure. I kind of just kneaded it a few times and decided I was done.  I was afraid of over-kneading because you don’t want to do that either.)  Over-kneading causes the gnocchi to become tough and rubbery.
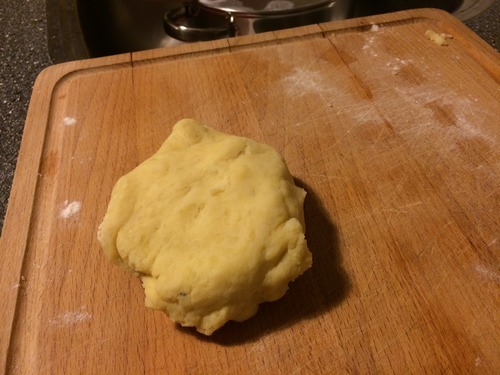
image

Please excuse me here for a moment because I actually completed this whole blog post and it was fantastic.  When I went to queue it up, Tumblr froze and I was fortunate enough to take a screen capture of my blog post, and I had copied and paste the first half as I was getting ready this morning.  I’m glad I have that screen capture, because I was really getting into the post.  So lucky for you, I can retype that last half.  Unfortunately, I lost a few paragraphs here in the middle which I’m sad about.  The portion up until this point was luckily saved in a document on my desktop. End rant.

Anyways, the dough got kneaded.  The next instruction was to place it back in the bowl and cover with a towel, however, the instruction did not state how long it had to be covered for, so I placed my towel over the dough in the bowl and took this opportunity to clean everything that I had used and was now done with.

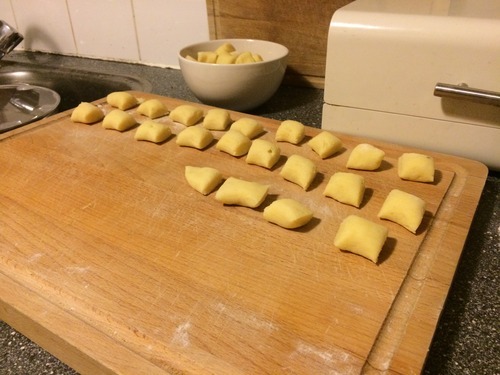
After that short clean up, I went back to the board and refloured it in order to start making my gnocchi.  At this point, I grabbed a lemon-ish sized blob of dough to start rolling.  This next step requires you to think back to your play-doh days and roll out that dough like a play-doh snake!  Roll it until it is about one inch in diameter or about the size of a quarter.  From here, it’s cutting time.  I just cut about one inch squarish pieces, or pillows, because they look like pillows once you cut them.
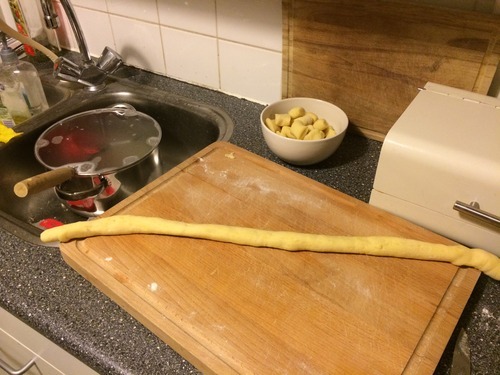
image

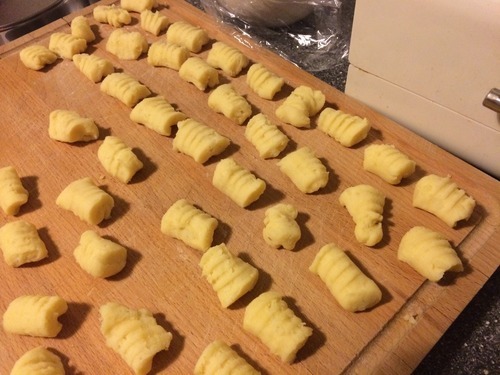
I proceeded to roll out all of my dough (it ended up being about five or six lemonish sized grabs of dough). Once all of my dough was cut into pillows, I had to ridge the gnocchi so that our sauce would stick.  This was probably the most difficult part of the whole gnocchi making process. The first recipe had this video to help show you how to make the ridges on the gnocchi.  Even with the visual aid, it took me a little bit to get a handle on it, and I kind of made up my own way.  
image

To ridge my gnocchi I used a nice normal fork.  I placed the tines on the counter and held the handle in my hand, making the fork perpendicular to the counter.  I placed the pillow of gnocchi dough right in the center of the tines and smushed the dough against the tines to get the imprint of the them.  Then, starting at the top of the tines, where they meet the fork handle, where the top of my gnocchi was sitting, I used my index finger to just roll the dough onto itself and off of the end of the fork tines.  I think if you use this description and then also watch the video, you’ll be able to figure it out and find a method that works best for you.
image

After ridging all of the gnocchi, you have two options.  You can either cook the gnocchi or freeze it (or in our case, do both, because we had enough for a second night’s dinner). 

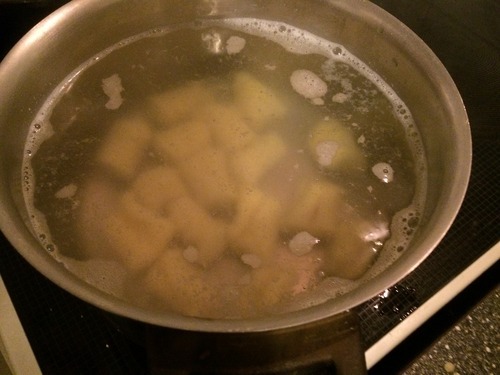
Cooking the gnocchi is the easiest part of the whole project.  Boil a pot of water with some salt in there. (I think ours was salted water, but honestly can’t remember.) Wait until the water is at a rolling boil.  If you add the gnocchi too soon, it soaks up too much water and doesn’t taste right and gets kind of mushy.  Plop the gnocchi one by one into the pot and let them sit in that boiling water until they come back up to the surface of the water.
image

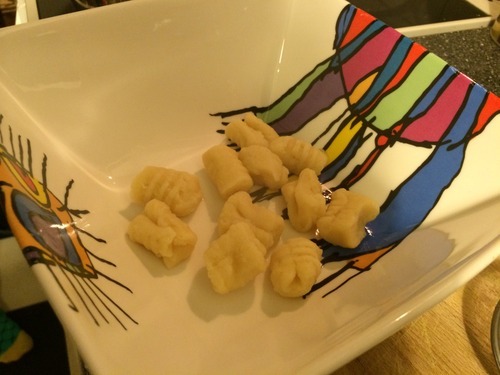
Promptly remove the gnocchi when it surfaces.  We ended up using a tea strainer because we did not have one of those ladle things with the little holes in it.  Honestly anything works as long as it strains the gnocchi as you remove it from the water.  Once you’ve taken it out of the water, it’s ready to be eaten.  We collected all of ours in a bowl first.
image

image

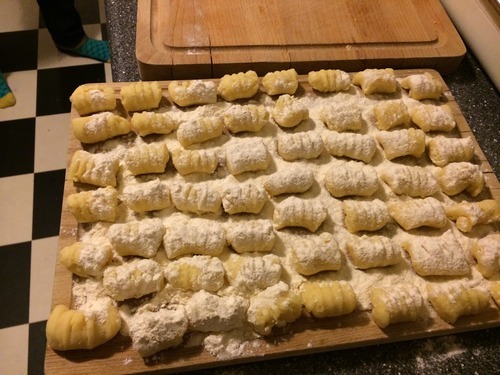
If you’re freezing your gnocchi, you will want to place them first on a baking pan or tray and sprinkle the gnocchi with flour.  Put the pan/tray in the freezer and wait for the gnocchi to get hard.  This will make it so that they won’t stick together when you move them into a bag (or bags if you’re portioning it out) for easier freezer storage.  They will stay good for two months.
image

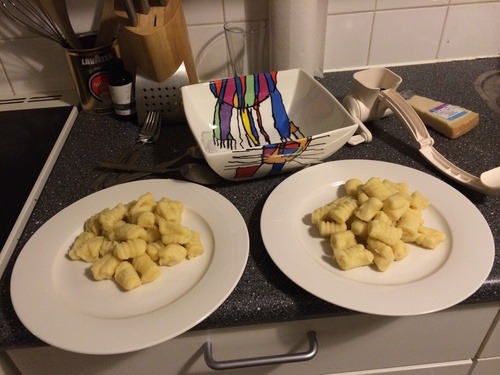
Last but not least, Job cooked up a creamy spinach sauce with pine nuts, garlic, parmesan cheese, spinach and crème fraîche.

Quick Cooking with Him – Spinach Cream Sauce with Pine Nuts

I was already running a little late from work and Hannah just let me know that the potatoes for the gnocchi were almost done. This was great news for me because it not only meant less work for me when I came home after a long day, but it also meant I had less time to make a gnocchi sauce that I hadn’t even decided on yet. 

Lucky enough I am Dutch and I learned how to multitask while biking. So after I did some acrobatic moves and put my gloves in my backpack, I was Googling on my bike (don’t do this by the way!) for gnocchi sauce recipes. I didn’t really find what I was looking for but it gave me an idea. 

So after a quick stop at the Albert Heijn I went home with the ingredients that would hopefully make a nice and really quick sauce. 

Ingredients: 

  • Spinach (In my case frozen)
  • Crème Fraîche
  • Pine Nuts
  • Parmesan
  • Butter
  • Garlic

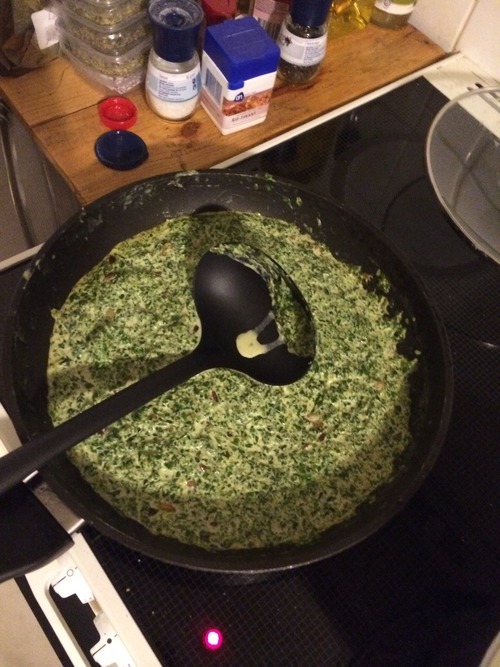
I melted some butter in a skillet (on medium heat) and added about two tablespoons of pine nuts and just cooked them until they were light brown. Then I added one minced garlic clove to the pine nut butter mix. 

After that I added about 100ml crème fraîche and half a pack of frozen spinach. I then changed the heat to low. When the frozen spinach had melted and mixed with the crème fraîche I added 50g of parmesan cheese and flavored with salt and pepper where needed. 
image

The sauce really was super easy and we were probably done in 10 minutes.

—-

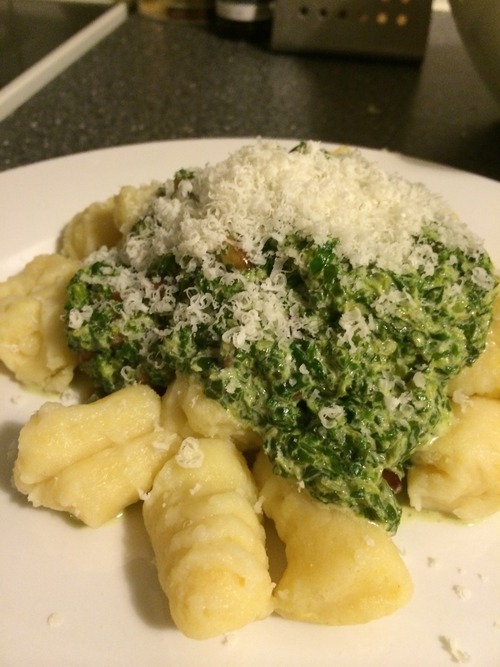
So how did they taste??  Seriously the most delicious gnocchi i’ve had.  I’m not sure if it was the sauce Job made or the satisfaction that I didn’t cook bad gnocchi’s, but they were light and fluffy, they weren’t gummy or mushy and they had such a fresh flavor.  I honestly can’t wait to make them again. Also, our frozen batch was just as good as the fresh batch! I definitely recommend this recipe and hope you all enjoy because we sure did!
image

Steak-Tastrophy

Like you, Job and I are human and we cannot perfect every delicacy that we make.  We have been trying so desperately hard to create an amazing steak dish with no success.

First we tried to make some horseradish steak tips with mashed potatoes and broccoli in October…

image

Although it looks pretty good, they were less than appetizing and super tough and over-cooked, and the potatoes were not quite cooked enough.  The only thing that worked was the sauce the meat was cooked in and the broccoli. Well we thought we had learned our lesson with cooking steak and wanted to take another go at it. 

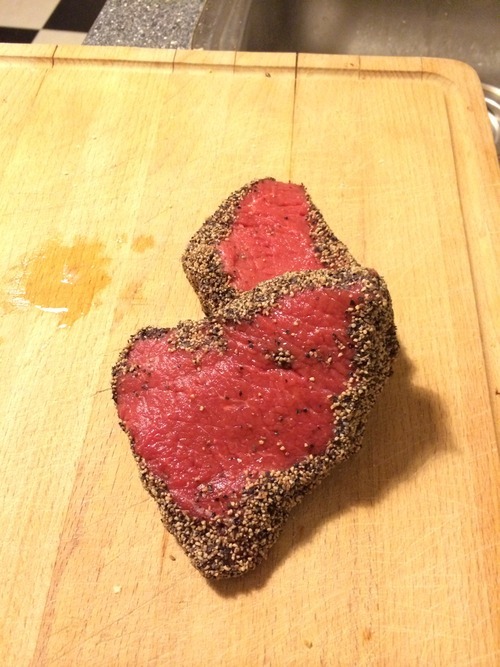
We went to C1000 (another local grocery store) and bought some peppered steak that looked beautiful.  We were both really excited for this dinner.

As sides, we decided again broccoli and potatoes would be good.  (We bought 10kg of potatoes at C1000 because they were buy one get one free 5kg bags for about €3.)

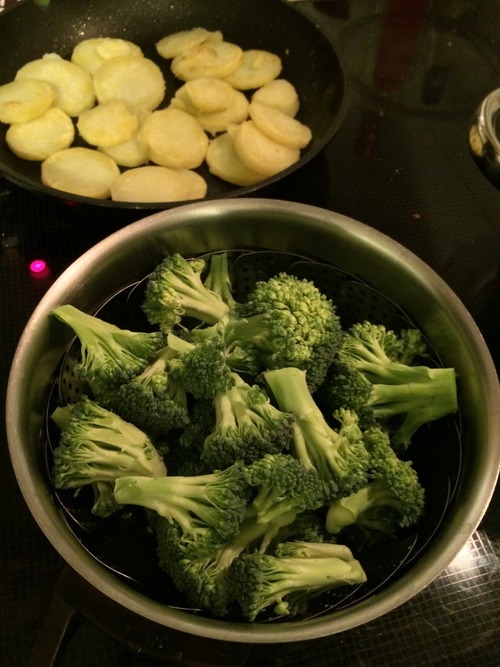
We steamed the broccoli which was the easiest part of the meal.image

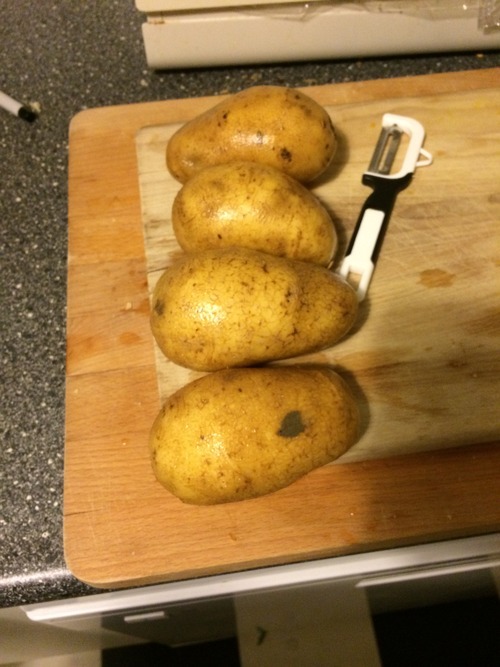
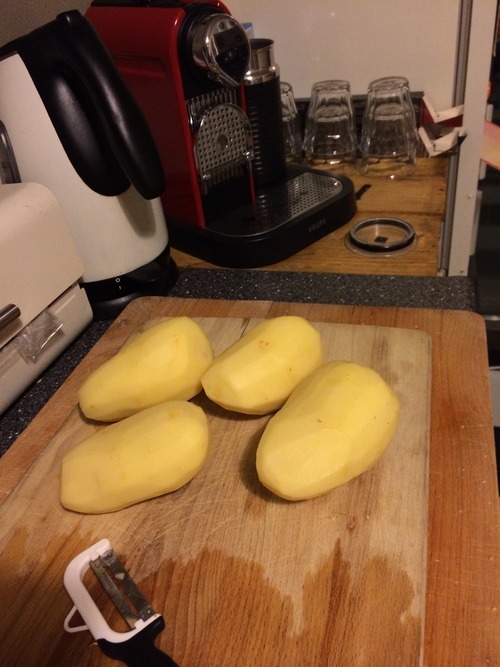
We worked on the potatoes throughout because potatoes take forever to cook.  Before Job got home from work, I got to work on the potatoes.  We chose four large potatoes to work with.image

 I wasn’t quite sure what sort of thing we were doing with the potatoes, so I asked Job, and he told me just to peel them and we would figure out when he got home what to do next.image

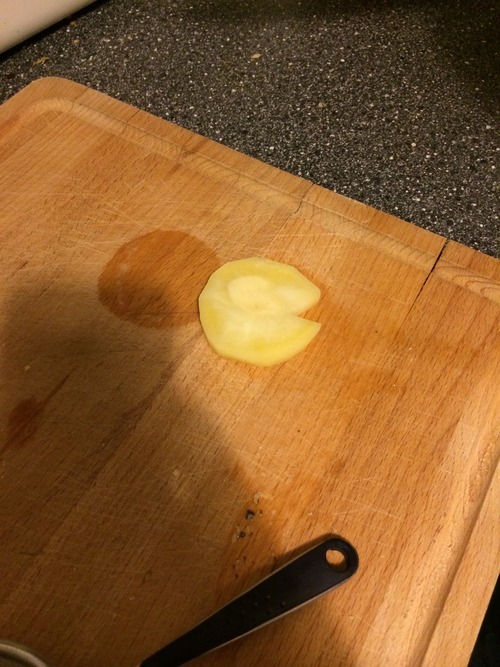
He arrived home shortly thereafter and sliced the potatoes into 1/4 inch thick disks.image

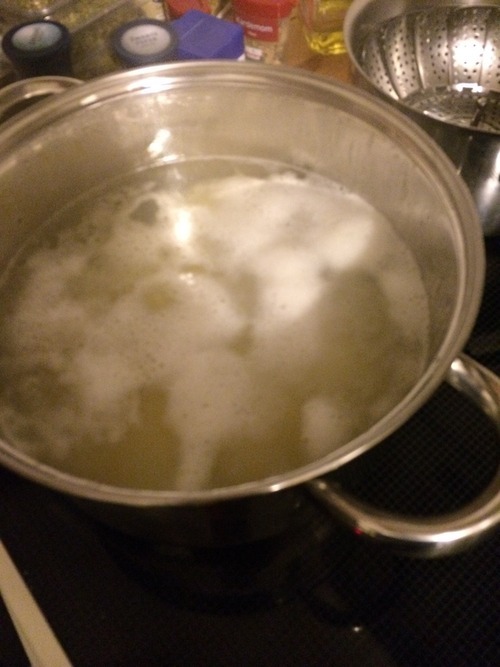
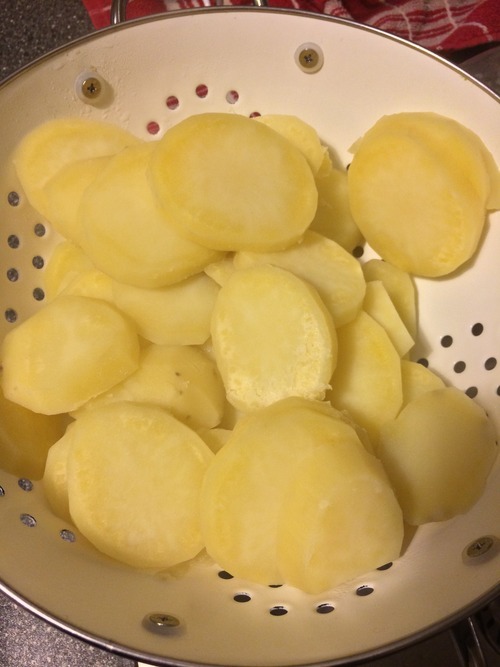
From there, we placed them into a pot of water and waited for it to boil.  We let them boil for about 10-15 ish minutes, until they were slightly tender, but not soft enough to make mashed potatoes.image

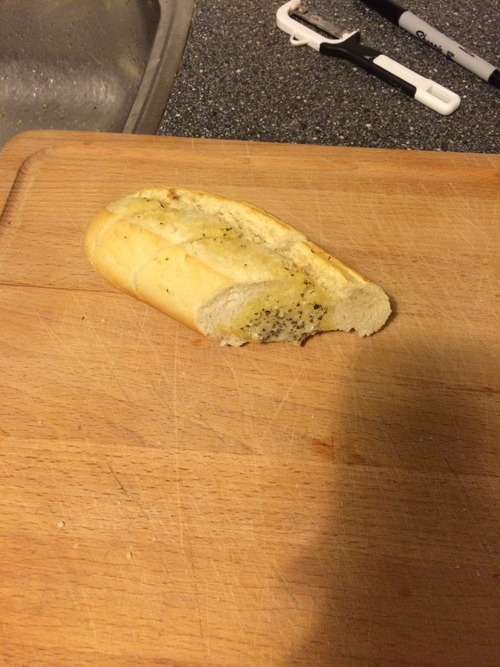
While the potatoes were boiling, we made a garlic bread… I know this sounds ambitious, but we just bought one of those prepared breads that you stick in the oven… It held us over while we continued to cook our potatoes.image

Next we drained the potatoes and let them sit to dry for a few minutes while we prepped a frying pan.image

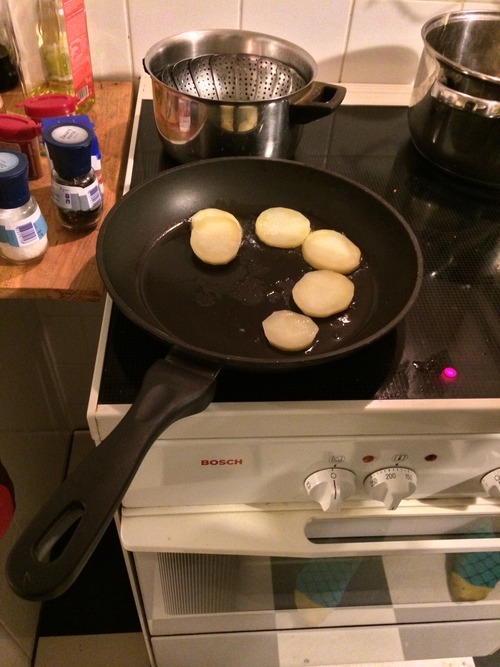
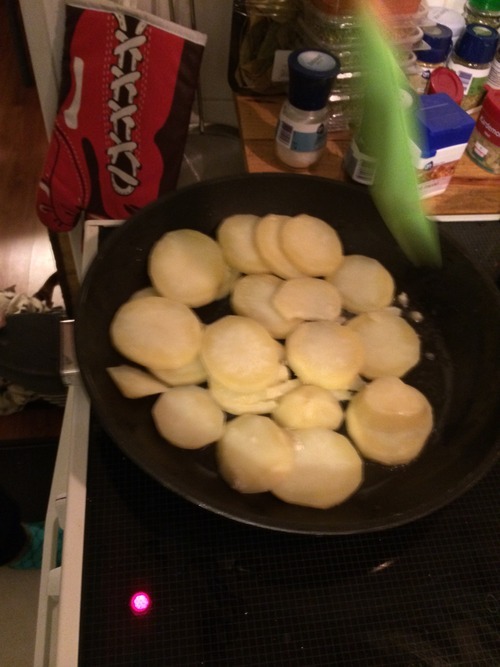
 We heated the pan up with some hot oil and then proceeded to put the potato disks into the pan.  Basically you want to coat the pan with potato disks.  image

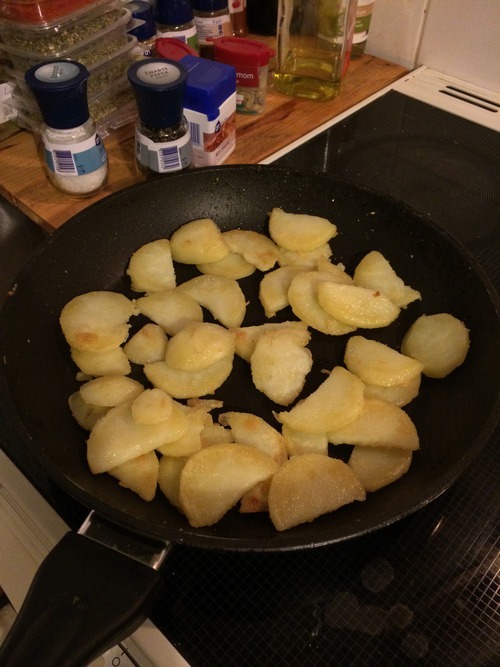
Add oil liberally so that the disks sort of fry up and turn a golden brown color.image

(^^Action Shot^^)

When they are cooked to your desired soft or crispiness, remove from frying pan and shake with seasonings… salt, pepper, what have you.image

Next we moved on to our steak.image

(They’re gorgeous aren’t they??)

Now mind you… neither of us, especially me knows a whole lot about steak or cooking steak, and Job has had a few successful forays into cooking the meat.  We heated and added the meat to the skillet, no oil (before Job put the meat in the pan he added some salt and pepper for taste) He cooked them on both sides… (I really don’t know the timing as I wasn’t in the kitchen for this part, but would guess about two minutes each side,) and then removed the steaks from the heat and put them in aluminum foil while we got the table ready.  Usually the steak cooks for a few minutes after you remove it from the heat… That is what we learned from our first foray when we cooked our steak tips to what looked like a perfect medium, only to find out that when we cut into them when we sat down to eat, they had cooked themselves into a well done… very tough and chewy.

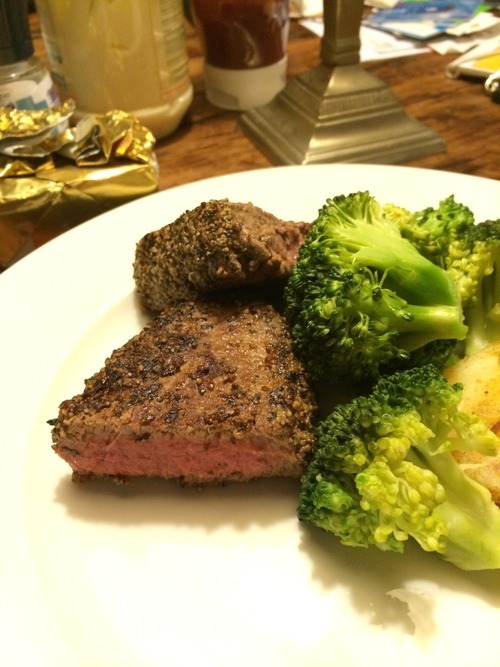
Well we made sure not to cook these for too long and when they were done, they looked about a medium rare after sitting in the foil for a few minutes, so we put them on the stove for a few more minutes just to get them to a nice medium.

image

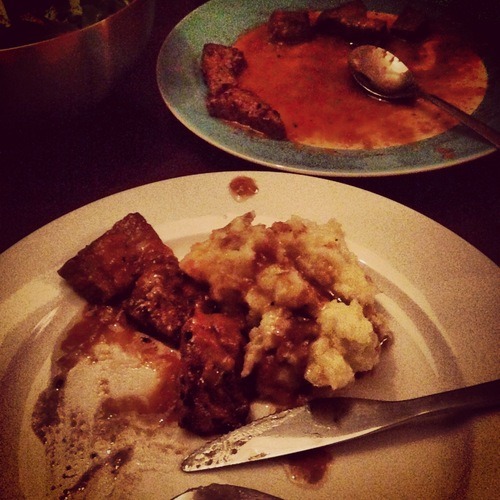
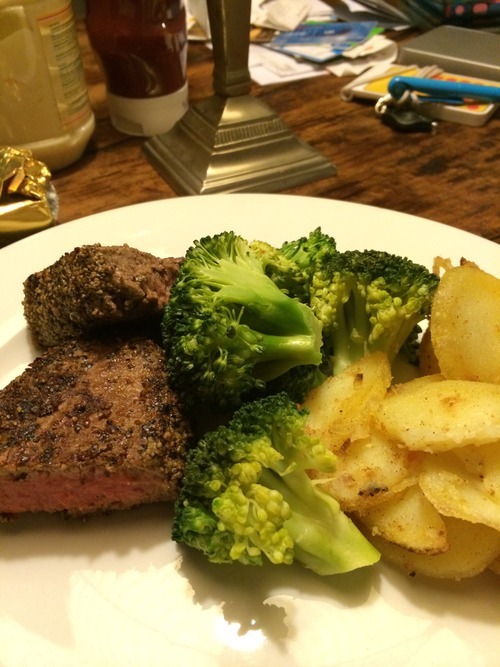
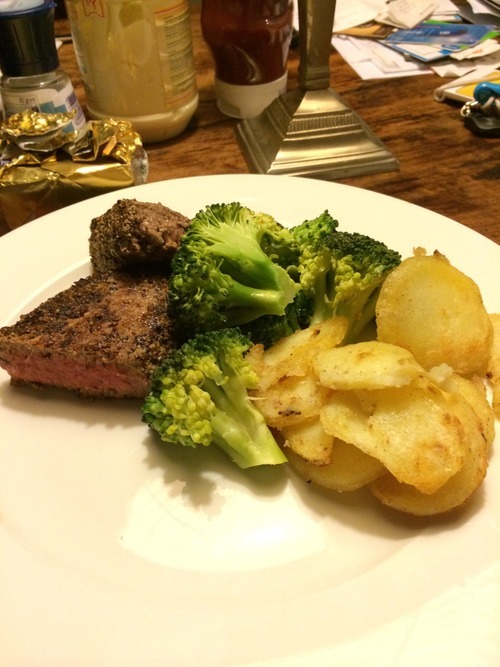
The really did look as though they had been cooked perfectly, but alas as we cut into them and took our first bites, they were so hard to chew and were just not pleasant to eat… Job and I have had some damn good steaks and this was not one of them.  The pepper crust it had on the edges was also very spicy.  It was just not enjoyable.image

The potatoes and broccoli on the other hand were very enjoyable.  The potatoes were basically disk shaped fries, and were very nice paired with ketchup, or as the dutch do, mayonnaise (I’m not a huge mayo fan.. so I stuck with the ketchup) and we also had some apple sauce.  

image

At this point, I think we’ll both be taking a break on cooking steak until we have more knowledge… or go to a restaurant to eat it there.

Let us know if you have any steak cooking tips in the Suggestions tab or send us an email at thetravelingspoonsblog@gmail.com !

Well That Works Too…

It’s really nice having a day off with Job.  It means that we can get some things done around the house together and that we can go grocery shopping and plan our meals for the week.  

Yesterday we went into the city center for a trip to the Apple Store for a power cord extension, and then since the rain had let up a bit, we went to Dam Square and made our way to the Albert Heijn to get some groceries.

We decided that for dinner, we would have some pasta with pesto and some chicken.  We already had chicken at home and only needed to get some pasta which was on sale and some pesto.

We bought a few other things for the week and made our way home for lunch.

We cleaned a little more, ate some lunch, and went to watch the olympic opening ceremonies which were pretty amazing.  After a little bit it was nearing to dinner…

We realized that we had not taken the chicken breasts out of the freezer to thaw.  We went through all of our options:

1. Pasta with just the pesto sauce

2. We had some leftover meat sauce in the freezer, we could try to thaw that…

3. We had some plain red sauce…so that and pasta…

….We weren’t really excited about any of these options.  Then we remembered..we had some sausages in the fridge that we needed to eat soon!

So we cooked up the pasta, and Job went to work

Sausage Pasta Sauce

Ingredients:

2 Sausages, cut into small circle slices

1 Onion, chopped

1 Garlic clove, chopped

2 Tomatoes, diced

1 Cup tomato sauce

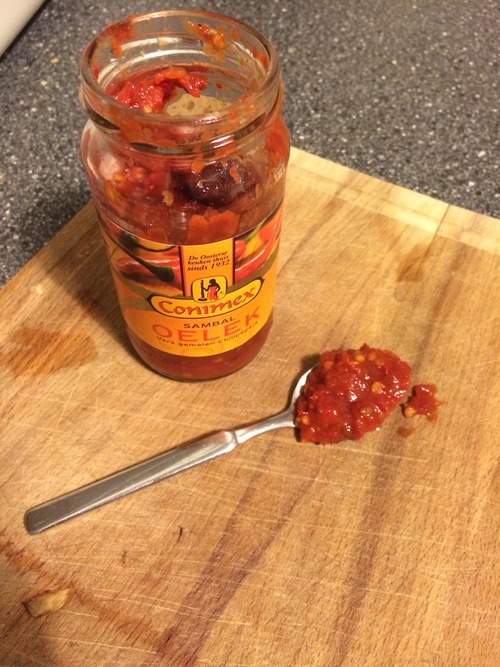
1 Small spoonful of Sambal Oelek for heat

Olive Oil

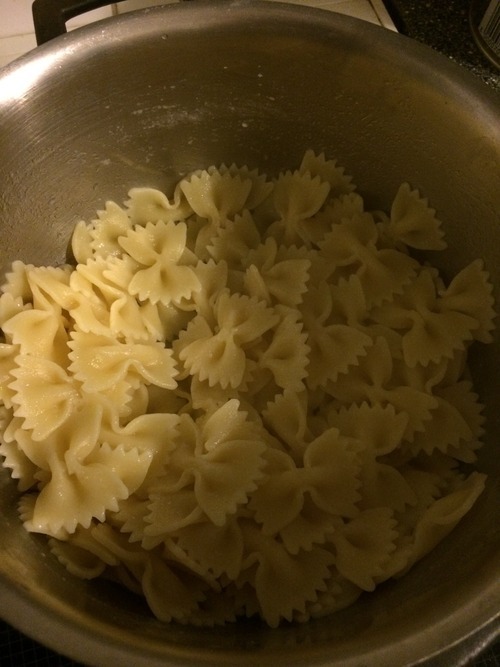
We cooked up some Bow Tie pasta in a pot and then started our sauce.image

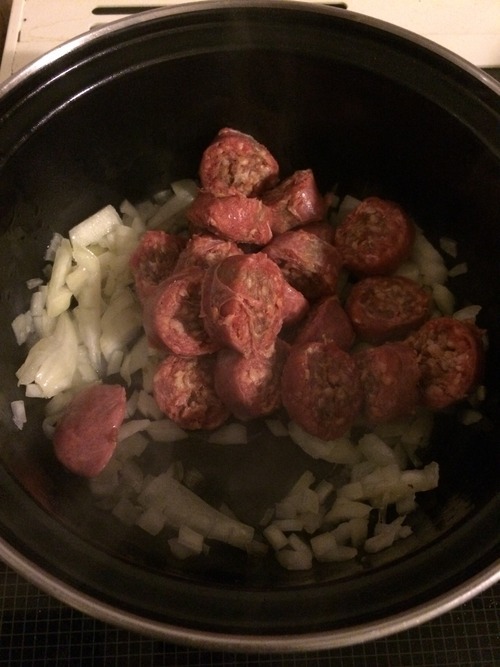
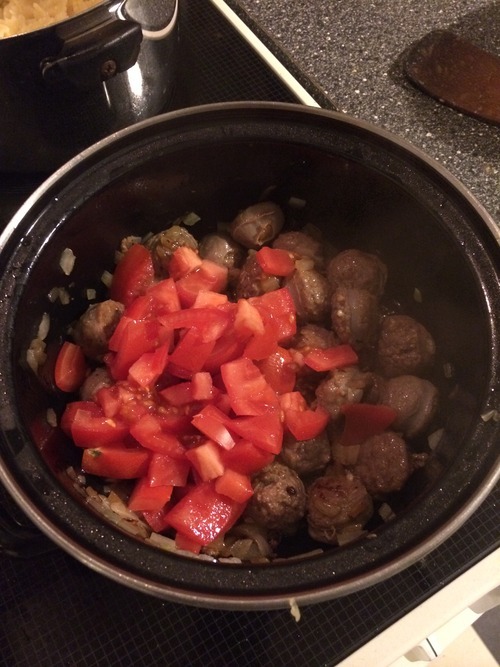
For the sauce, we started with some olive oil and onions cooking on a medium high heat. We added our sausage to the chopped onions.image

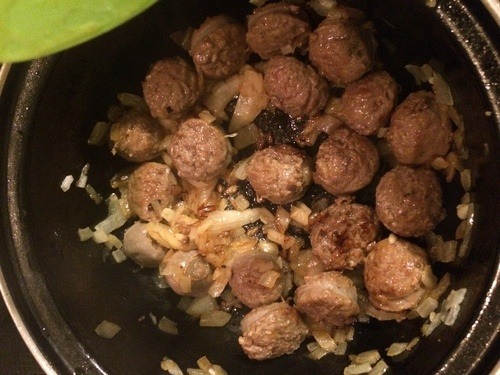
We cooked these until the sausages and onions started to brownimage

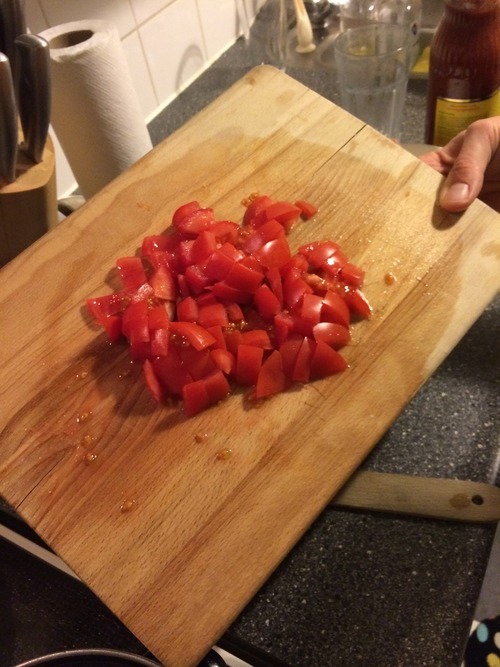
and then added garlic and tomatoes.imageimage

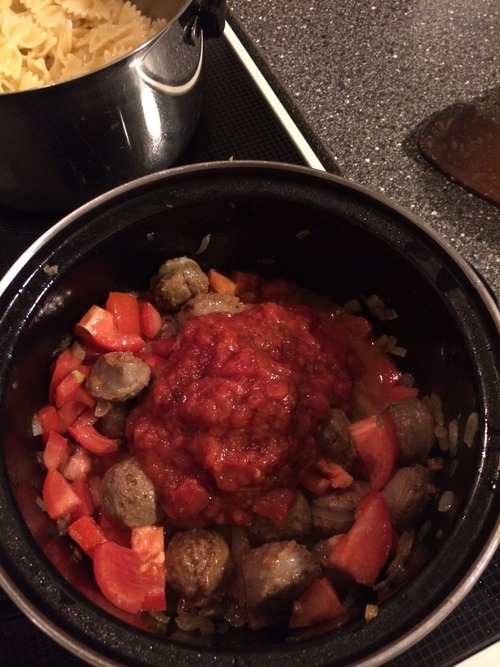
From here, we cooked this for about thirty seconds and then added tomato sauce and sambal.image

image

We just kept this on a medium high heat until all of the ingredients heated up enough and then the sauce was ready.  Took maybe 5-10 minutes to prep and complete the sauce.

image

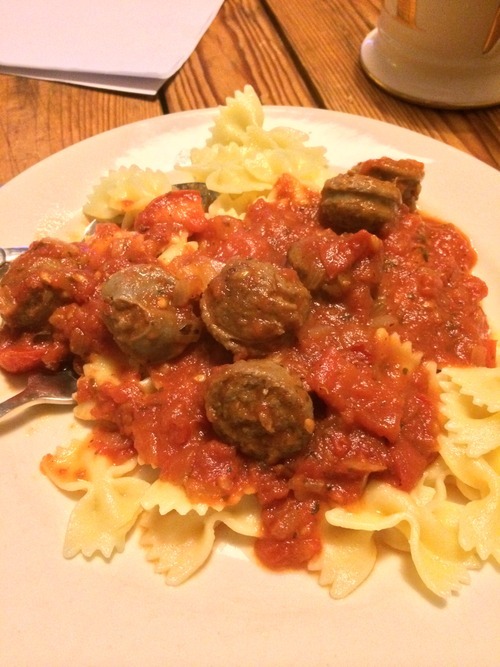
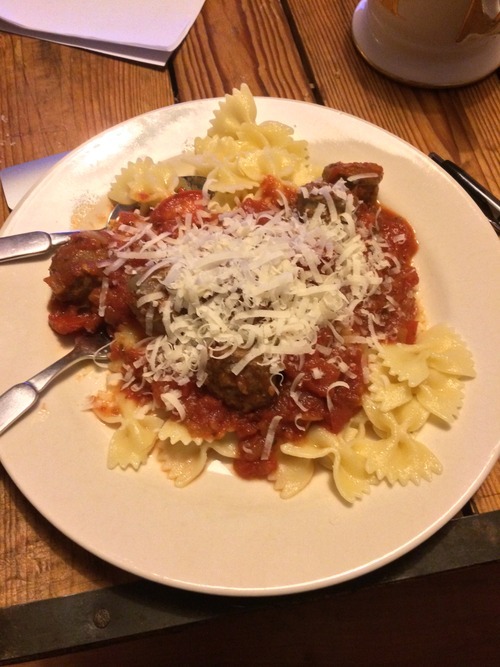
I added a little bit of parmesan cheese and it was perfect to eat.image

The sauce had just the right amount of heat and was very fresh tasting.  The pasta was perfectly cooked and everything melded together really nicely.  

Being that this was definitely a last minute dinner, I would say I can’t wait to eat it again because it was so tasty!

Stamppot Round Three: Hutspot

The Decision of Dinner

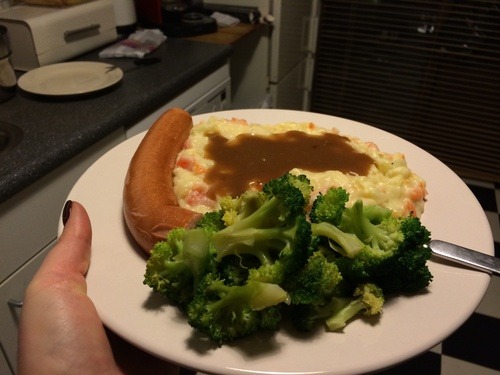
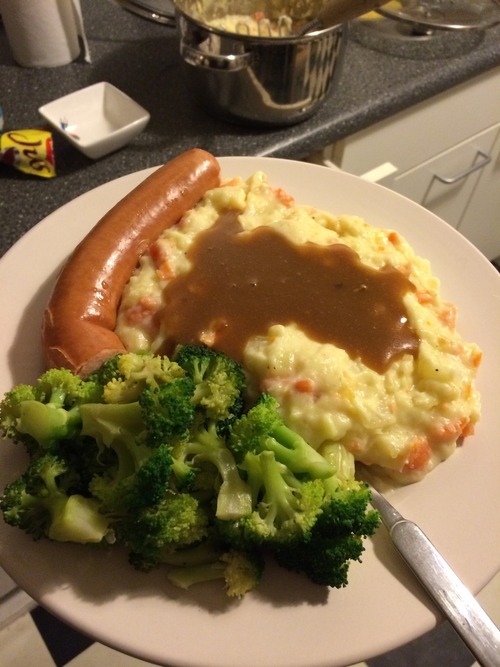
As we checked our food inventory the day before, we noticed that we had some produce that needed to go soon… one of those things being a large bag of potatoes. They were starting to grow.  We decided to make one of my new favorite meals, Stamppot, which is something like a bunch of mashed potatoes and some sort of vegetable mashed all together with some cheese and bacon bits and usually there is a rookworst (smoked sausage is what it translates to… but not 100% if that is what it is…?) on the side. We also had some broccoli and carrots and onions in the house so Job decided that we would make Leiden Stamppot, or Hutspot.  Job grew up in Leiden so I was really excited to help him make this special dish.

image

For more information about the history of Hutspot, click Here and Here.

While Job was working, I went out to the market to grab a few things we needed.  We needed some young cheese, some bacon cubes and some butter.  I went to the local Albert Heijn, which is the supermarket around the corner from our house.  I was successful in gathering some cheese and some butter, but the store was all sold out of bacon cubes.  I sent Job a quick message that the store was all out and asked if he could pick some up on his way home.  He responded with of course and I went back to gathering a few other treats.

Ingredients:

These are the main ingredients of any stamppot dish.  What differentiates the stamppots are the different vegetables you mix with the mashed potatoes, cheese and bacon.  So far I’ve had Endive Stamppot, Kale Stamppot and now this Leiden Stamppot (carrots and onions)

A lot of potatoes, peeled and sliced into 1 inch blocks (I would say that I used probably 10-15 potatoes)

Bacon cubes

A small bowl full of young cheese (A: Young cheese is generally a gouda cheese aged for about 2 months.  You can substitute with Cheddar or jack cheese.  It is not a super intense flavor.  Pretty mild. B: if you have a large block of cheese, I used 3 fingers width of the block.  Job usually uses 2 thumbs worth, but I think 3 of my fingers is about 2 of his thumbs, but you can see the pictures of the amount we used.)

Carrots, chopped

Onions, chopped

1 Packet of Stamppot Jus (I’m sure there is a recipe to make your own stamppot gravy, but we always just buy a packet that you add butter and water to)

4 Tbsp of Butter

Salt and Pepper to taste

2 Tbsp of Milk

Rookworst

Food Prep

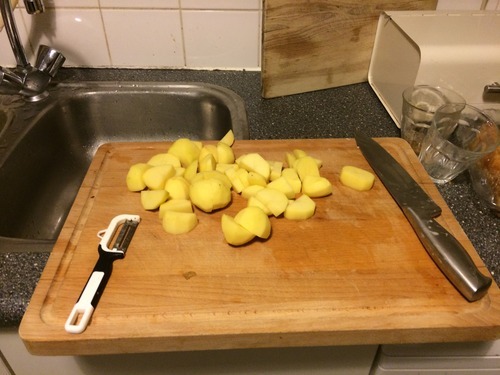
Around 6PM, I decided it would be a great idea to start cooking the potatoes for the stamppot because they take forever to cook.  I peeled the 10-15 potatoes…image

with our left handed peeler (a very tough thing to do when you’re right handed, and I made a mess)image

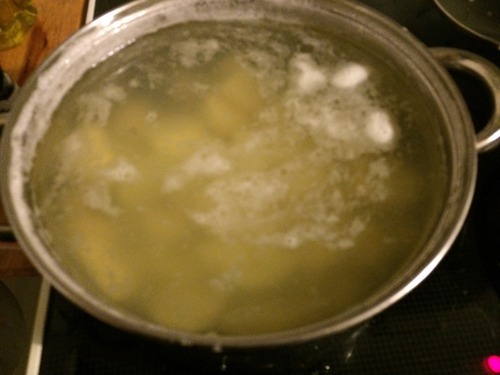
and cut the potatoes into 1 inch blocks… well 1 inch chunks? They definitely weren’t blocks. While I was peeling and cutting, I put a large pot of water on the stove to boil.  Once all of the potatoes were peeled and cut up, I put them into the pot of water.image

 Once the water boils, time the pot for 20 minutes.  When 20 minutes is up, the potatoes should be soft and a spoon or fork should be able to glide through.  Basically you want to make them soft enough to mash, and then just pour out the water they boiled in.

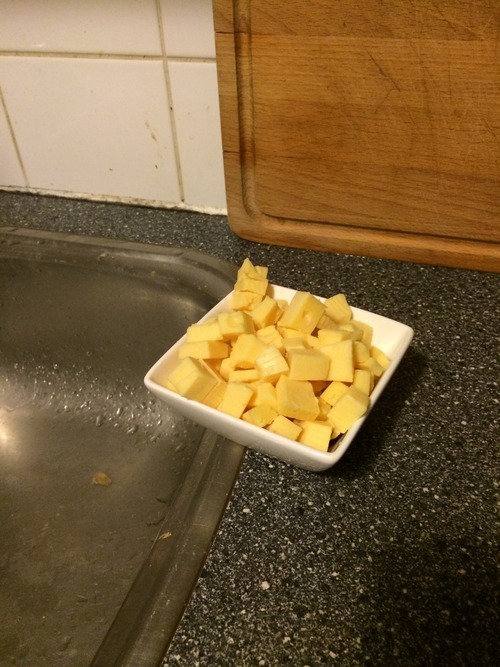
While my potatoes were cooking, I cut up the cheese and put it aside in a small dish.image

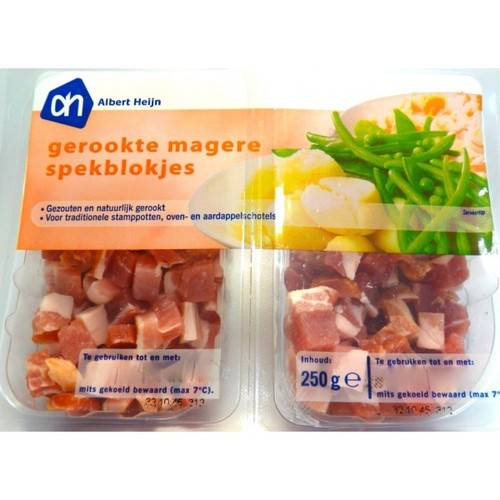
Next, I would have cooked up the bacon cubes, however when Job went to stop at the Albert Heijn on his way home to see if we could get some bacon, his bike lock didn’t work and so he couldn’t go inside. This is what they look like uncooked and in a package:image

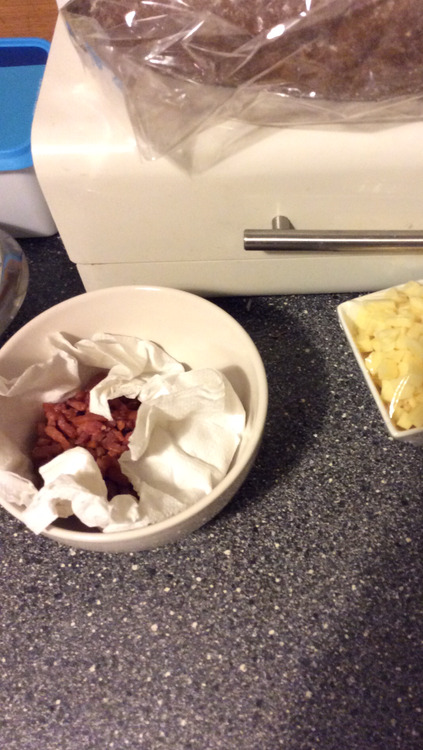
(I also found a picture from when I made the Kale Stamppot of the bacon sitting in a dish lined with paper towel to soak up some extra grease)image

Oh well, no bacon for our stamppot this time, but what you normally do is you put a small package of bacon cubes in a pan and cook them up until they are crispy. (I like a bacon a lot and so does Job, so we usually use both sides of the package)  You can then use the leftover bacon grease for your stamppot jus instead of butter.  

Since the potatoes take so long to cook, this is usually when I prep the other veggies, but since I had never made this variation of stamppot before and didn’t want to mess anything up, I just kept my potatoes drained and covered and waited for Job to come home so that he could show me how to prepare the other things.

If you’re making a stamppot with a leafy vegetable like Kale or Endive, you would just want to make sure the leaves are cut up into small strips or squares and that there are no stems and ribs, and then you just mix it into your mashed potatoes, cheese and bacon.

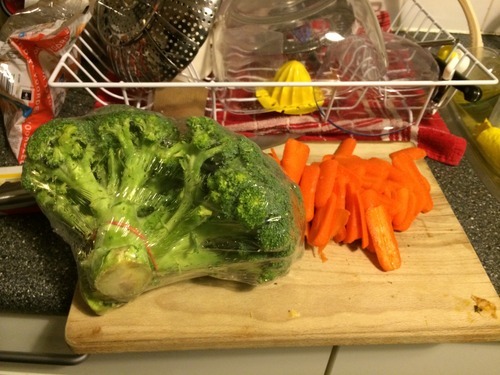
When Job arrived home, I let him know that I had already cooked the potatoes and asked him what still needed to be done.  We had to slice up the carrots and the onions.  We used two small onions and about a half of a bag of baby carrots. We also decided to use up our broccoli as a side veggie. image

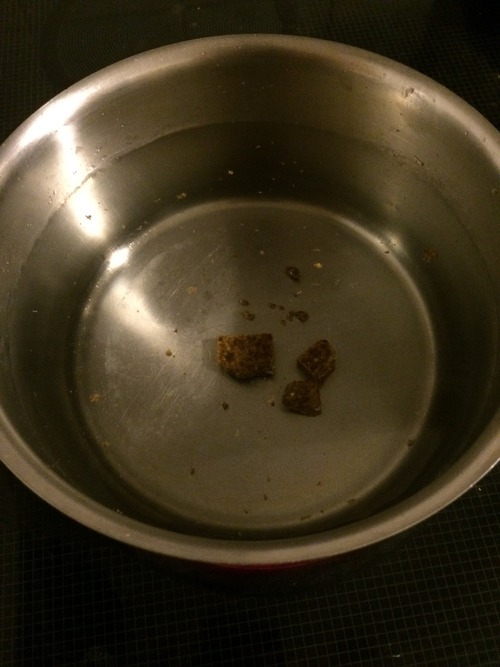
Job put a medium sized pot on the stove with water and a bouillon cube for some added flavor to our veggies. image

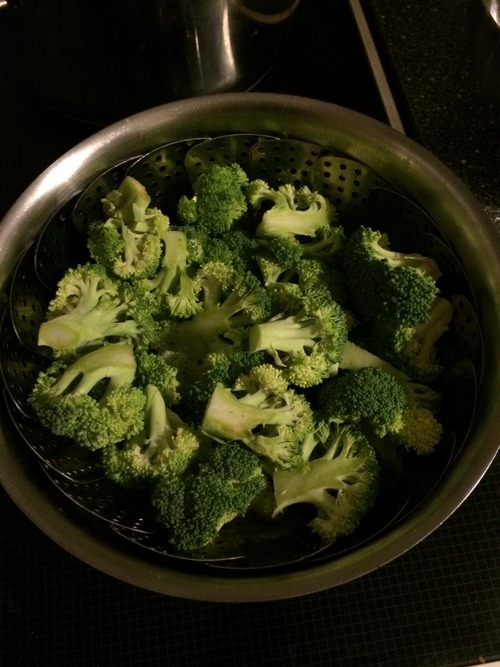
He put the carrots and onions in the boiling water and placed a steamer basket on top and filled it with our broccoli so we could cook all the veggies at once.image

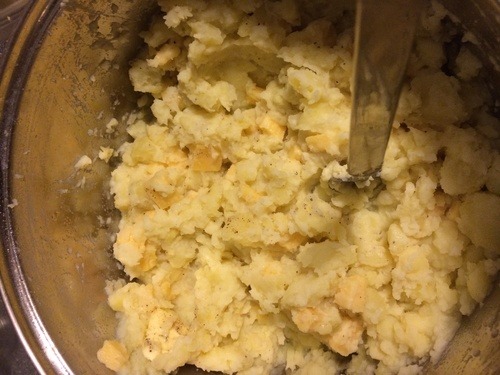
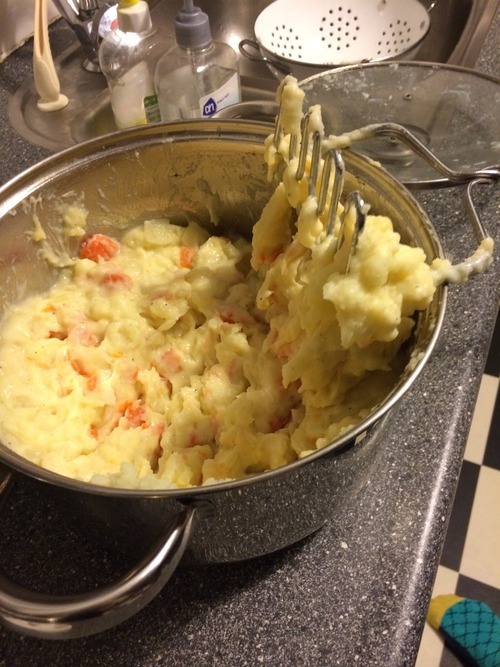
While they were cooking, I started to mash the potatoes.  I always add a large chunk of butter, probably about a tablespoon or two to the mash and probably about a tablespoon or two of milk as well, to make it extra creamy.  Then, I added in our cheese cubes, and would normally add in the bacon cubes as well. image

 Because the potatoes are so hot from boiling, they just melt everything in there.  I always also add a little salt and pepper for taste. I added a little cayenne pepper for some kick.  Next we added in the carrots and onions that we boiled as well as some of the water that we boiled it in because it was so flavorful.  It also helps to meld the mash together.image

In a pan on the stove, I then melted some butter to make the jus packet, about 2 tablespoons of butter lightly browned, then add in the packet with about a glass of water, and just let it thicken up.image

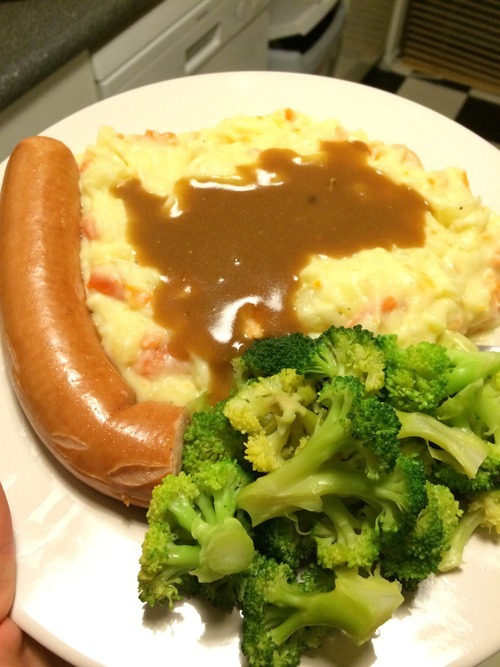
Lastly we just had to cook up our Rookworst in the microwave and we cut it in half and dinner was ready to be served.image

As usual, the stamppot was super tasty and filled us both right up, and we have plenty left over for lunch and dinner!image

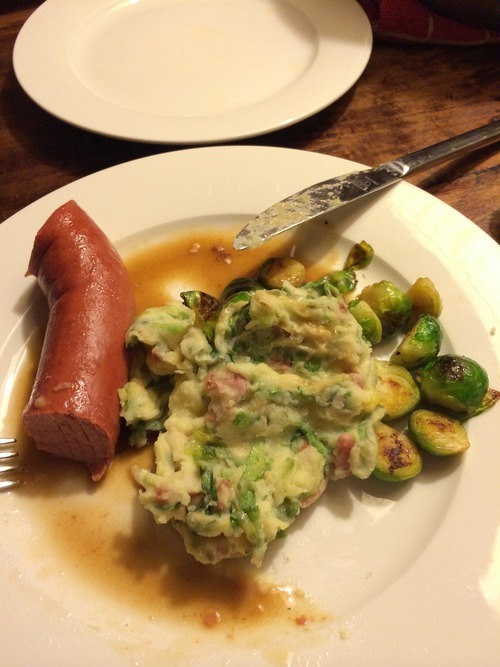
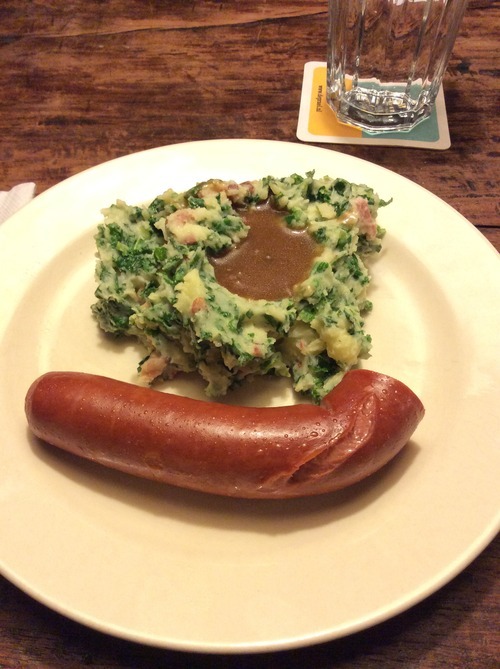
And in case you were wondering how our other stamppots turned out…

Endive Stamppotimage

Kale Stamppotimage

Rosemary Garlic Chicken and KALE!

It neared closer and closer to 7PM… the time Job would be home.  We had discussed earlier in the day while he was working that we would be making some kind of chicken for dinner. 

imageAs he arrived home and settled in, we started throwing around ingredients to decide what we wanted to make for dinner.  I had been having a rosemary craving for a couple of days and suggested some sort of rosemary garlic chicken.  He agreed, but neither of us had a recipe to go from, just thoughts of what we wanted our food to taste like when it was done, so I hopped on the internet… and I found this recipe. 

It seemed super easy and we had all of the ingredients.  Before we started, I looked over a few reviews and noticed that they had all suggested a few things that we took into mind while creating our dish.

We prepped 2 boneless chicken breasts, chopped up some lemons, squeezed out some lemon juice, found a nice little baking dish and got to work.

Ingredients:

2 Boneless Skinless Chicken Breasts

1 Large Clove of Garlic, Chopped

1 Tablespoon of Dried Rosemary

1 Tablespoon of Lemon Juice

Salt and Pepper to Taste

Olive Oil

1/2 Lemon

Prep Time: 5-10 Minutes

Cook Time: 25-30 Minutes

First we preheated the oven to 375.

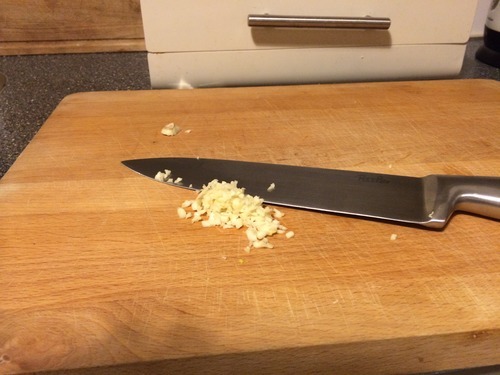
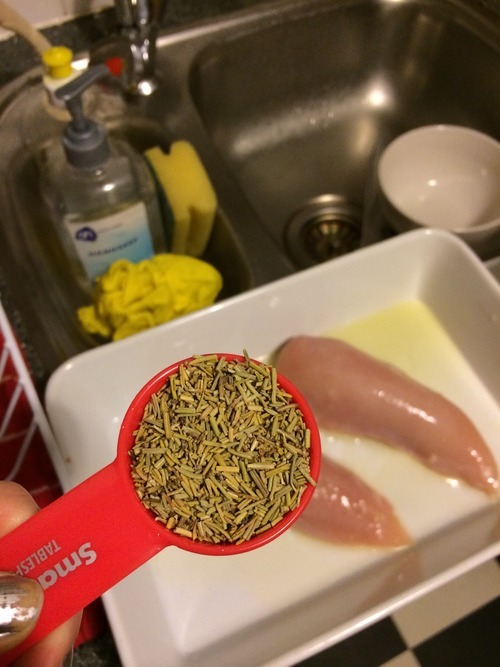
Next we squeezed out some lemon juice, and sliced the lemons and chopped up some garlic.  imageWe also set aside 1 TBSP of dried rosemary.image

We put a small amount of olive oil in the baking dish.  

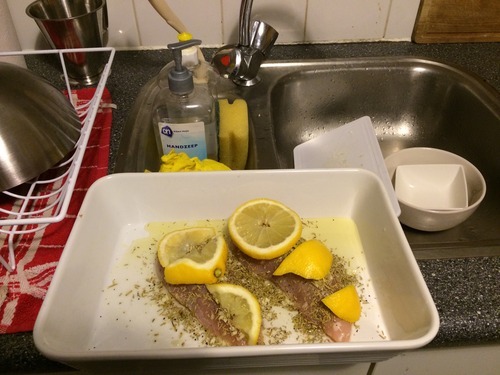
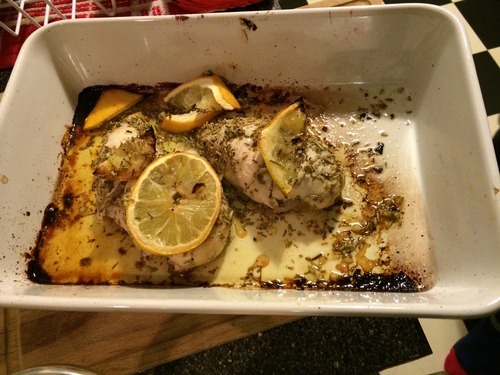
Next we laid down the two chicken breasts side by side, evenly scattered the garlic and dried rosemary on top, added some salt and pepper, and poured the lemon juice over the breasts.  We laid the lemon slices on top of chicken breasts to keep the moisture in.

image

We placed the dish in the oven and set a timer for 12 minutes.  Many of the reviewers recommending covering the dish half way through cooking with a sheet of foil to make sure the meat stayed moist throughout cooking.

We ended up cooking the chicken for about 30-35 minutes.  The recipe says 25 minutes, so it depends on your oven.  Just make sure the juices run clear.  (We also cut into our chicken just to be safe.)

image

While the chicken was baking, we moved on to our side dish, which we also found here.

Ingredients:

1 Bundle of Kale without stems and ribs (We used a 200g (i think?) bag)

3 Cloves of Garlic, Chopped

Olive Oil

Bacon

Water

Salt and Pepper to taste

Prep Time: 5 min

Cook Time: 5 Min

For this recipe, we loosely followed the instructions and kind of made up our own rules. We cut down on the garlic because Job was afraid he would have garlic breath and had to work the next day, and no one wants garlic breath at work.  We also added some bacon as some other reviewers had suggested because we love bacon.

While Job was chopping the garlic and the bacon, I put some olive oil into the bottom of a large cooking pot and heated it up.  image

Next I put the kale into the pot.  I added about 2 TBSP of water and put the pot on low heat with a cover.

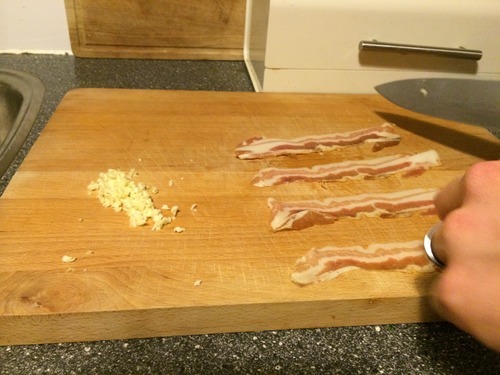
Job, after chopping up the garlic and bacon placed it into a frying pan to cook the bacon through and brown the garlic a little.image

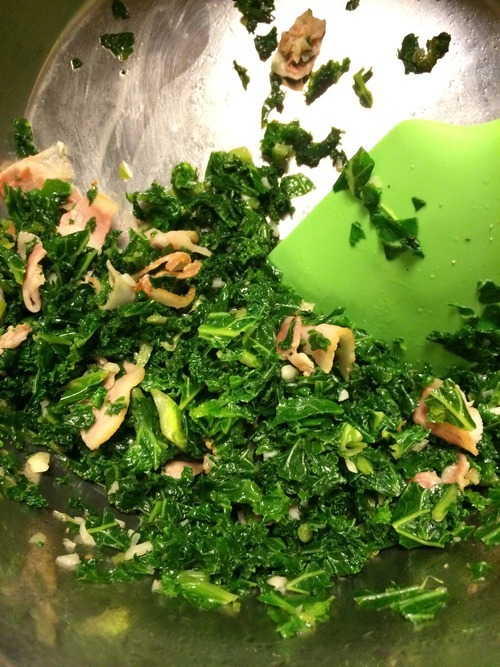
We then added all of that to the pot with the kale and cooked it on a medium heat for about 5 minutes while continuously stirring.  The kale leaves will turn a bright green and will be wilted once cooked.image

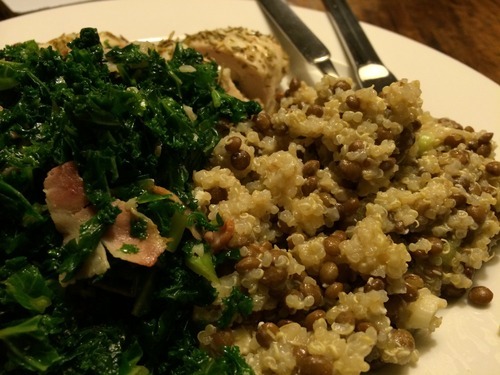
Once we finished our kale, we were just about ready for dinner.  We had some leftover Lentil and Quinoa salad that we used as the grain base for the dish.

image

This is a super easy recipe.

Ingredients:

1 Can Lentils

1 Cup Quinoa (uncooked)

Spring Onions

Feta Cheese

Prep Time: 5 Min

Cook Time: see quinoa instructions on package.

For this recipe, Open up a can of lentils.  If there is an excess of liquid in the can, pour it out.  Pour the lentils into your serving bowl.

Next, cook up a cup of quinoa, making sure first to wash the quinoa to remove the bitter taste. 

While the quinoa is cooking, chop up some spring onions.

Add the spring onions to the lentils.

Once the quinoa is done cooking, add that into the bowl as well and crumble some feta cheese on top.  Mix well and you’re done!

image

So… how was dinner?

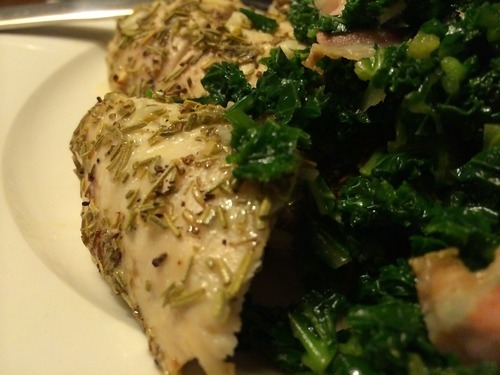
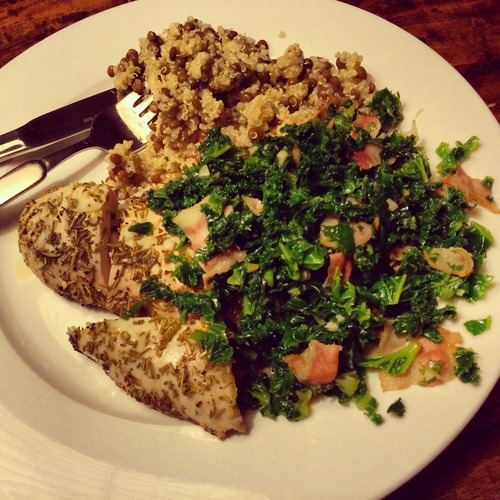
Well, the chicken was super super moist and tasted so fresh.  The rosemary was not overpowering at all, and neither was the garlic, which is good because no one wanted to have garlic breath.

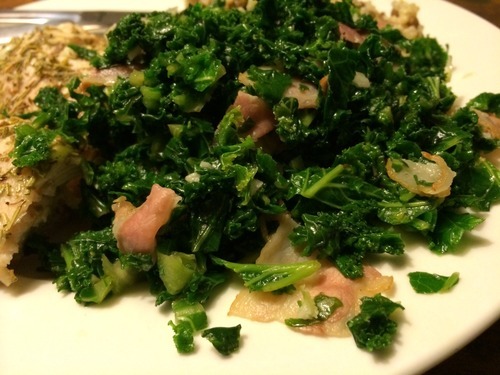
The kale was zesty and not too garlic-y either, which was perfect.

The Lentil and Quinoa salad perfectly balanced out the meal with a less acidic taste compared to the garlic of the kale.  Everything was super tasty and I would definitely eat this one again!image

If you have any questions or comments about the dish, please feel free to write to us and let us know how everything turned out!

Tokyo Travel

image

Whilst my lovely boyfriend ventures to China with his mom, I thought it fitting to go to Tokyo with mine. Unfortunately for me, my visit to Tokyo was less of a whirlwind traveling experience and really just a trip to dinner for sushi in Providence. (388 Wickenden St, Providence, RI 02903) 

image

Tokyo has to be one of my favorite sushi places in the state… It didn’t always have the best reputation (see Yelp and TripAdvisor reviews here). The place used to look a little run down and service wasn’t always the best… I can’t say for myself that I’ve really ever had bad experiences…maybe just one time, the time I brought Job there.They seemed to be extremely understaffed and our waiter was also a bus boy and the chef… or a kitchen person… and he couldn’t say enough bad things about the owner… but enough of that. The restaurant has been going under renovations for the last year.  Booths have been reupholstered, the flooring has been redone, they have a new counter and a new POS system. It really is turning around, not to mention a whole new staff.. and not just a few new people, they hired a whole bunch of nice young waitresses. There is even a traditional style room that you can sit in where you have to take off your shoes before you enter, and seating at the “sushi bar” where you can watch everyone’s sushi orders materialize. 

It’s a nice spot for lunch, and is usually pretty quiet throughout the week during the afternoon, but when dinner hits, especially on a friday night, it gets pretty busy. Tonight almost every table was filled! (I can’t really remember another time it was that busy, and I’ve been coming here for three years. They have a large menu of appetizers and entrees and have a huge selection of sushi, both traditional and new agey-fusion.  
What I really love about their sushi is that the rolls are a good size, filled with their ingredients. They don’t skimp, and the roll isn’t primarily rice (which you tend to find at mall sushi places)  They’re full of flavor and pizzaz and the restaurant has gotten presentation down. (sometimes they put the sushi in boats (this was from a separate visit…

image

(Gared and I went right after I returned from Amsterdam and our sushi was brought to us in this sweet boat!)

Tonight, I started with a house salad, and my mom with a miso soup. (I’m sorry, I didn’t take a picture of her soup.)

image

We then ordered 5 rolls of sushi. We split the Cranston Roll (mango tempura, asparagus and plum sauce) an Ocean Roll (tuna, salmon and yellowtail (I think…)) a California Roll, a Spicy Tekka (tuna) Roll, and a Spicy Yellowtail Roll.

image

image

image

Everything tastes extremely fresh and the service was exceptionally quick (which I always appreciate… I’ve got stuff to do after dinner… like write this blog!!)

The rolls were very nicely arranged. I took some close ups of each roll as well.

image

image

image

image

image

After all of that sushi, I was sufficiently stuffed. But boy oh boy did it hit the spot!
MADMEN Night

Every Sunday night, I partake in a small tradition with a few friends from work.  We go over to one friend’s house, and we all talk about and then watch AMC’s hit show, MADMEN together.image

We generally will also have either a cocktail or other alcoholic beverage from the show or inspired by the show.  This week we had good ol’ Heinekens. Sometimes there is the small delight of food as well. Adam, the host, has a lovely boyfriend/fiancé/wife named Josh. Josh is an amazing cook, and when we are lucky, he puts together a great meal from us. Some of his past delicacies have included nachos and swedish meatballs, which have come to be coined “SwedBalls” by one of the other members, Ludy.

This week, we had an assortment of different treats.  I brought “Fat Betty Bugles” (which was actually just a bag of Bugles that I coined Fat Betty Bugles because of one of the characters in the show)image

Josh made a Stromboli, Pepperoni Pizza, (which he called pecoroni pizza) and some chicken wings that he grilled up. Some where teriyaki flavored and some italian spiced. image

image

imageNow I’ve never had Stromboli before, and for those of you who don’t know what it is, it’s basically some bread stuffed with italian meats like pepperoni and sausage and some italian cheese, in this case provolone. This thing blew my mind! it was so flavorful and delicious with a little bit of spice from the meats, but the cheese was so creamy and tasty it cooled it down just the right amount.

The pizza was amazing too, made on some fresh dough and with some red sauce, cheese and pepperonies. The dough was not too soft and not too crisp. it was an amazing pizza.

The chicken wings were grilled to perfection and the meat was super juicy and tasty,  All of Josh’s foods were great hits.

Then came Nick from left field with his surprise dessert. He made Oreo Truffles (which are very similar to a dessert I make called Oreo Balls (I’ll put them up here one day for you all to enjoy!)) His Oreo Truffles were made with Double Stuffed Oreos, Cream Cheese and some Chocolate. They were delicious, creamy, rich and sweet. the perfect way to end off our feast.image

By the time MADMEN was about to start… We were totally Stuffed!!! But it was great! And everything was so super delish!

Hannah

Cucumber Noodles

After realizing tonight that I didn’t have any real food at home Hannah pointed me to a recipe for Cucumber Noodles over at Epicurious.com.

I’ve never cooked cucumbers but I gave it a shot. And as it turns out it’s pretty decent.

For one portion I used:
– One cucumber
– One or two tbsp of unsalted butter
– Two tsp of freshly cut mint or mint sauce
– Two tsp of lemon zest
– One tbsp of lemon juice
– Salt and pepper

First thing you do is cut the cucumber with some sort of vegetable cutter until you have something like this.

image

Cook the cucumber for 1 minute in salted water. Take off the heat and drain in a colander. Put the colander with the cucumber in cold water to stop cooking.

image

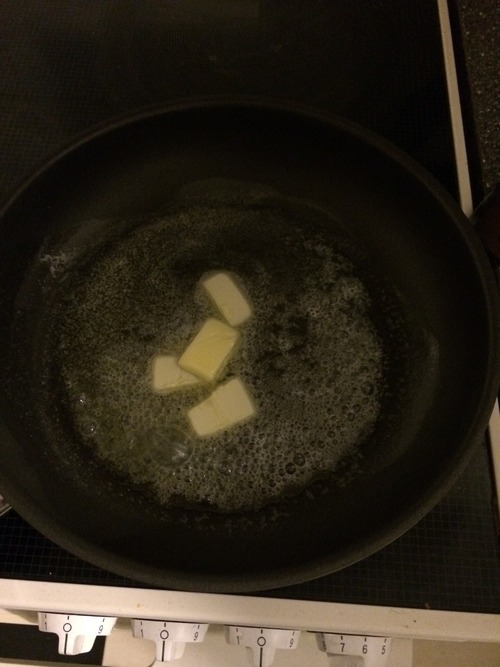
On a medium heat melt the butter and add some salt.

image

When foam subsides add the cucumber with the lemon juice, lemon zest and mint. Toss to make sure it’s cooked evenly. Take off the heat after about 1 minute.

image

Cooking the cucumber first in water and then in the butter gives it a completely new texture that makes it a perfect substitute for regular noodles. The skin doesn’t change texture as much as the rest of the cucumber so if you want to make it even better, take off the skin before cutting it to noodle size.

You can use it as a substitute for normal noodles or as a side dish.

image

Job