

So we’re going to change it up a bit in hopes that Job will get more of an opportunity to write about the things he makes with our “new” segments, Cooking with Him and Cooking with Her. With that being said, welcome to Cooking with Her – Gnocchi. (We got the title idea from these awesome bloggers thekatchpdx, who denote each of their blog posts with him or her so you know who writes them. Thanks again!)
Be forewarned, this is the proudest cooking moment of my short cooking career. For those of you that know me, I am in no way a cook. Most of you would probably put me in the category of “Hannah doesn’t know how to cook (but she can make damn good cookies)” I, myself, would say I was there as well.
About a week ago, I found out that maybe I could take myself out of that category.
Anyways, last week we bought 10kg of potatoes. They were on sale. After the potato purchase, we sat down and had a serious conversation about how we were going to use up 10kg of potatoes in just a few weeks. Obviously, Stamppot was going to be on the menu a few times, but I thought to myself, what else is a main dish that uses potatoes… and then it came to me…GNOCCHI!
Now at first I thought that this was pretty ambitious. I knew nothing about pasta making, and even less about gnocchi. I did what any normal person in this day and age would do… I googled it.
This first thing I came upon was this (first recipe). I read through the instructions and thought, hey… this doesn’t seem super awful. I think I can do this. I read a few of the comments for suggestions on recipes as I always do to find out ways to make the meal better and stumbled across this (second recipe).
With both of those websites in hand, it was time to get ready to work.
Now, the original plan was to make the gnocchi with Job, but as you know, potatoes take forever to prepare and so I wanted to get a jumpstart on the action so that we could get right to it when Job got home from work. So I got down to work.
Ingredients:
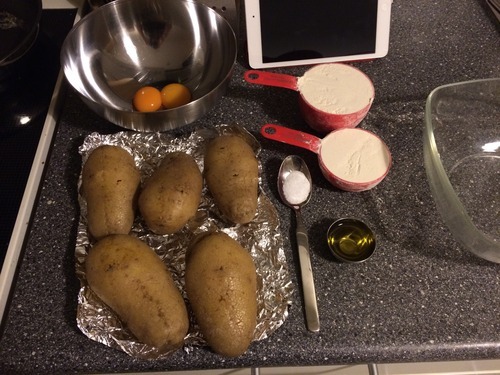
- 1 kg of potatoes (I ended up using five potatoes, they’re already cooked in this photo)
- 300g (1.5 cups) of All Purpose Flour
- 2 Egg Yolks
- 1 Tbsp of Olive Oil (The recipe actually called for extra virgin, but we just had traditional olive oil which is what we used.)
- Salt (I have no idea how much salt as none of the recipes I looked at gave an amount, so I just looked at the picture from the first recipe and tried my best to duplicate.)
The first thing I learned about gnocchi is that water is not your friend! Water will make the gnocchi gummy and not have the correct texture. The only time you want water is when you’re ready to boil these bad boys up for your meal.
The first set of instructions suggested you boil the potatoes to cook them. The second set suggested you bake the potatoes to avoid dealing with water. I heeded the advice of the second recipe because I have no faith in myself when it comes to cooking. Then I had to look up how to bake a potato because this is how much I actually know about cooking. Nothing.
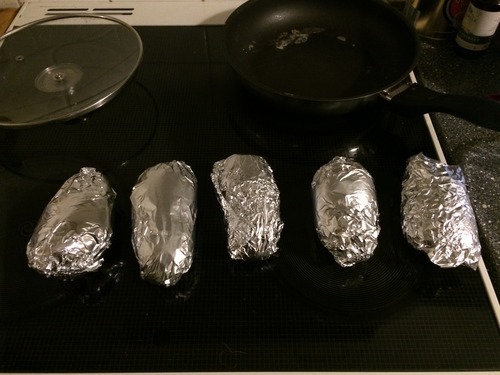
Anyways, after looking up how to bake a potato (dear google, thank you for not letting me down… and Diane for your cut and dry instructions (I liked Diane’s answer the best)) I prepped my potatoes by kind of rinsing them (I was still weary of the water) and then created a dotted line with fork punctures the length of the potato and put it in tin foil to bake. I believe I baked them at around 200C for about an hour to an hour and a half. Like I said. I really had no clue what I was doing. I tried to time it well enough so that when the potatoes were done, Job would just be walking in the door from work. My timing was off.. which is how I ended up making this dinner myself.
According to the second set of instructions, everything melded together better when the potatoes were hot, so I just kept making the gnocchi despite the fact that Job probably wouldn’t be home for at least a half hour more.
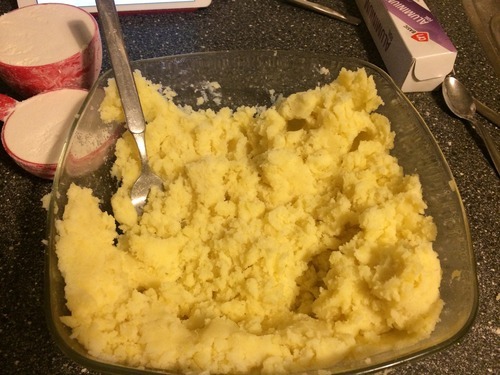
When they came out of the oven, I carefully peeled off the skin. I found that by pressing on the skin and pulling away from the center fork perforations, the skin just peeled back with ease. I went about all of the potatoes and peeled them and put them into a big glass bowl.
From there, I first used my masher and then went down to a fork. The first recipe recommends a potato ricer (I don’t have one of those) and the second one used a pastry cutter (I don’t have one of those either) so I used a fork which was the fallback method for both recipes. This mashing part is super important because you really need to make sure there are no chunks of potatoes left by the time you’re done mashing. If there are, then you will have chunks in your gnocchi and that is no good. So really get in there with that fork and mash, Mash, MASH! While I was mashing, I added in my olive oil which recipe two suggested. It helps to somewhat moisten them and makes it slightly easier to mash.
Looking over both recipes, I think that I forgot to beat my egg yolks before I added them to the potato mixture.. but I can’t quite remember. Anyways, according to both recipes, you’re supposed to beat the eggs first. I think I just poured them in and stirred the mixture until it was all the same color. From there I added the flour and salt and got to work with my hands because I knew otherwise there would be flour all over the kitchen.
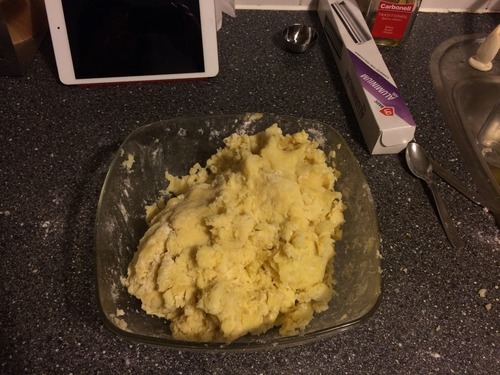
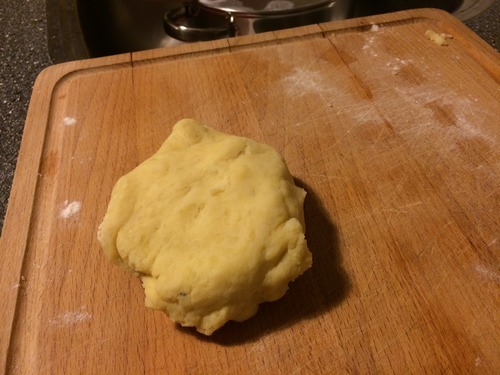
Once everything was mixed all together, I got out our wooden cutting board and sprinkled some flour on there and plopped the dough out of the bowl. I kneaded it a few times (at this point I was sort of following directions/sort of making up how to knead because I did not follow recipe one’s instructions for sure. I kind of just kneaded it a few times and decided I was done. I was afraid of over-kneading because you don’t want to do that either.) Over-kneading causes the gnocchi to become tough and rubbery.
Please excuse me here for a moment because I actually completed this whole blog post and it was fantastic. When I went to queue it up, Tumblr froze and I was fortunate enough to take a screen capture of my blog post, and I had copied and paste the first half as I was getting ready this morning. I’m glad I have that screen capture, because I was really getting into the post. So lucky for you, I can retype that last half. Unfortunately, I lost a few paragraphs here in the middle which I’m sad about. The portion up until this point was luckily saved in a document on my desktop. End rant.
Anyways, the dough got kneaded. The next instruction was to place it back in the bowl and cover with a towel, however, the instruction did not state how long it had to be covered for, so I placed my towel over the dough in the bowl and took this opportunity to clean everything that I had used and was now done with.
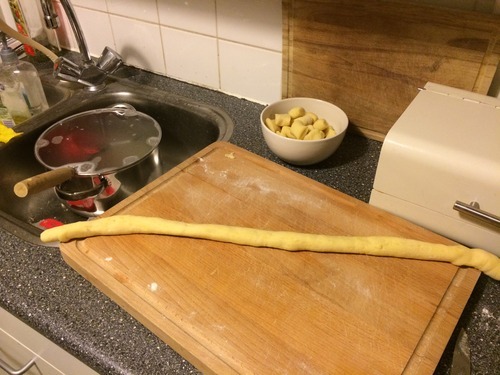
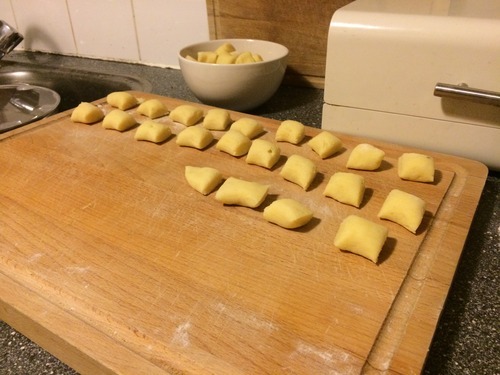
After that short clean up, I went back to the board and refloured it in order to start making my gnocchi. At this point, I grabbed a lemon-ish sized blob of dough to start rolling. This next step requires you to think back to your play-doh days and roll out that dough like a play-doh snake! Roll it until it is about one inch in diameter or about the size of a quarter. From here, it’s cutting time. I just cut about one inch squarish pieces, or pillows, because they look like pillows once you cut them.
I proceeded to roll out all of my dough (it ended up being about five or six lemonish sized grabs of dough). Once all of my dough was cut into pillows, I had to ridge the gnocchi so that our sauce would stick. This was probably the most difficult part of the whole gnocchi making process. The first recipe had this video to help show you how to make the ridges on the gnocchi. Even with the visual aid, it took me a little bit to get a handle on it, and I kind of made up my own way.
To ridge my gnocchi I used a nice normal fork. I placed the tines on the counter and held the handle in my hand, making the fork perpendicular to the counter. I placed the pillow of gnocchi dough right in the center of the tines and smushed the dough against the tines to get the imprint of the them. Then, starting at the top of the tines, where they meet the fork handle, where the top of my gnocchi was sitting, I used my index finger to just roll the dough onto itself and off of the end of the fork tines. I think if you use this description and then also watch the video, you’ll be able to figure it out and find a method that works best for you.

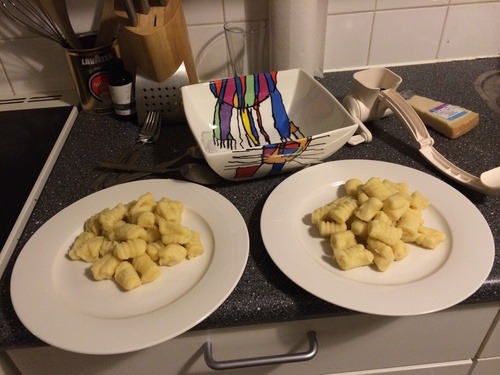
After ridging all of the gnocchi, you have two options. You can either cook the gnocchi or freeze it (or in our case, do both, because we had enough for a second night’s dinner).
Cooking the gnocchi is the easiest part of the whole project. Boil a pot of water with some salt in there. (I think ours was salted water, but honestly can’t remember.) Wait until the water is at a rolling boil. If you add the gnocchi too soon, it soaks up too much water and doesn’t taste right and gets kind of mushy. Plop the gnocchi one by one into the pot and let them sit in that boiling water until they come back up to the surface of the water.
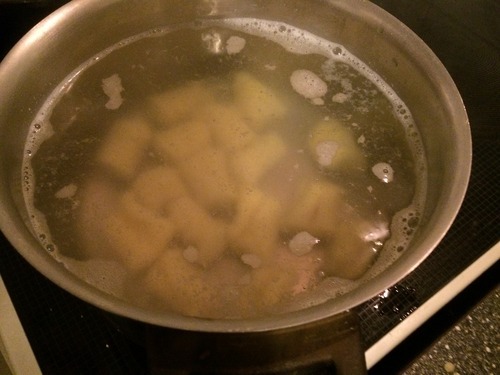
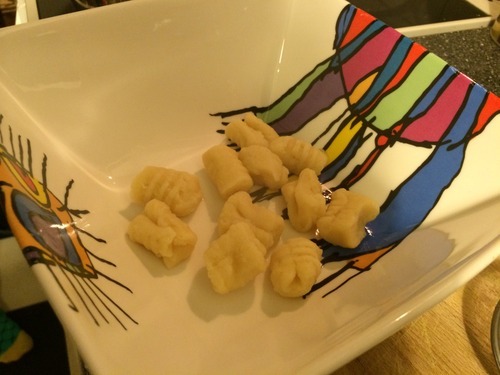
Promptly remove the gnocchi when it surfaces. We ended up using a tea strainer because we did not have one of those ladle things with the little holes in it. Honestly anything works as long as it strains the gnocchi as you remove it from the water. Once you’ve taken it out of the water, it’s ready to be eaten. We collected all of ours in a bowl first.
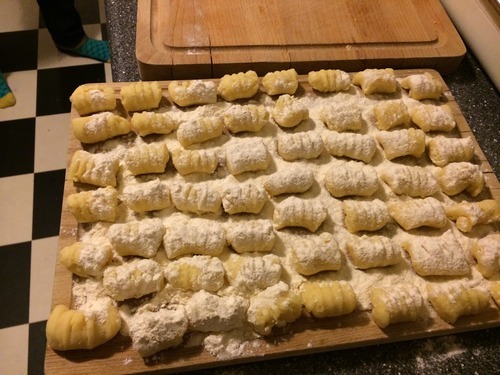
If you’re freezing your gnocchi, you will want to place them first on a baking pan or tray and sprinkle the gnocchi with flour. Put the pan/tray in the freezer and wait for the gnocchi to get hard. This will make it so that they won’t stick together when you move them into a bag (or bags if you’re portioning it out) for easier freezer storage. They will stay good for two months.
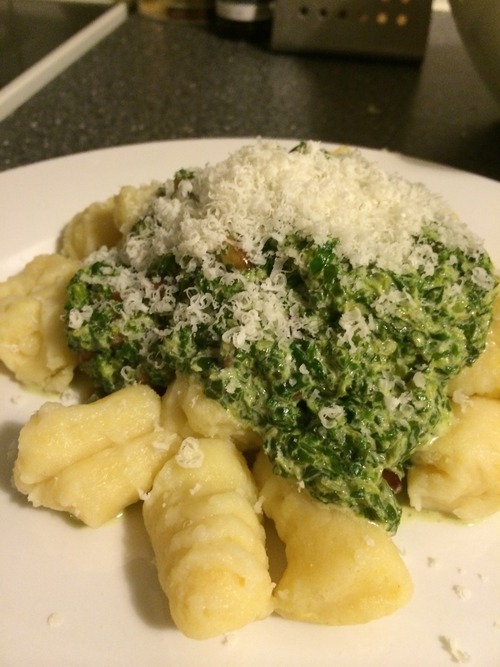
Last but not least, Job cooked up a creamy spinach sauce with pine nuts, garlic, parmesan cheese, spinach and crème fraîche.
Quick Cooking with Him – Spinach Cream Sauce with Pine Nuts
I was already running a little late from work and Hannah just let me know that the potatoes for the gnocchi were almost done. This was great news for me because it not only meant less work for me when I came home after a long day, but it also meant I had less time to make a gnocchi sauce that I hadn’t even decided on yet.
Lucky enough I am Dutch and I learned how to multitask while biking. So after I did some acrobatic moves and put my gloves in my backpack, I was Googling on my bike (don’t do this by the way!) for gnocchi sauce recipes. I didn’t really find what I was looking for but it gave me an idea.
So after a quick stop at the Albert Heijn I went home with the ingredients that would hopefully make a nice and really quick sauce.
Ingredients:
- Spinach (In my case frozen)
- Crème Fraîche
- Pine Nuts
- Parmesan
- Butter
- Garlic
I melted some butter in a skillet (on medium heat) and added about two tablespoons of pine nuts and just cooked them until they were light brown. Then I added one minced garlic clove to the pine nut butter mix.
After that I added about 100ml crème fraîche and half a pack of frozen spinach. I then changed the heat to low. When the frozen spinach had melted and mixed with the crème fraîche I added 50g of parmesan cheese and flavored with salt and pepper where needed.
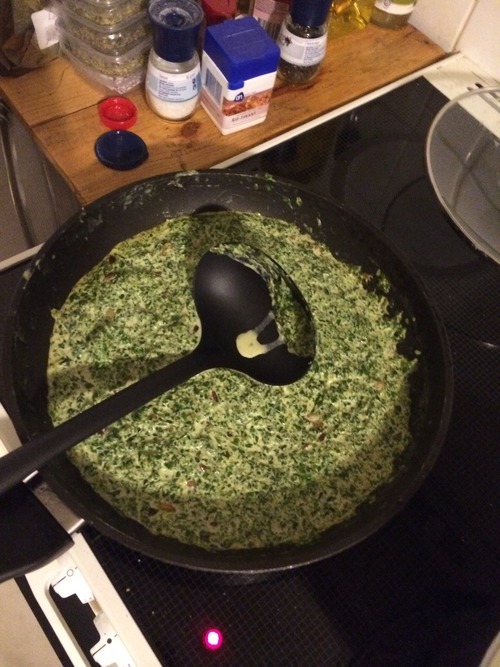
The sauce really was super easy and we were probably done in 10 minutes.
—-
So how did they taste?? Seriously the most delicious gnocchi i’ve had. I’m not sure if it was the sauce Job made or the satisfaction that I didn’t cook bad gnocchi’s, but they were light and fluffy, they weren’t gummy or mushy and they had such a fresh flavor. I honestly can’t wait to make them again. Also, our frozen batch was just as good as the fresh batch! I definitely recommend this recipe and hope you all enjoy because we sure did!
